
I recently did a test on Enscape, and I was thrilled by its smoothness and many functionalities.
Autodesk guys must have heard me, since a few days later they launched a service called Autodesk Live, which seems to be doing something similar. It takes your Revit model and allows you to:
– render it better than you would within Revit;
– walk through it more smoothly than you would with Revit.
(let’s just remember that Revit already does both of those things: it’s just not very good at it).
Since I was curious (and for once I was super-sober), I did a couple of tests.
This is what I found out.
1. Install and Run
This easy. All you need is an A360 account and you can download a trial version of the Autodesk LIVE Viewer from the dedicated Apps page.

Once you’ve done so, LIVE places itself in the Revit Addin tab. It might take a while to find it, since the logo doesn’t have anything to do with the icon.

2. How the trial works
Let’s just be clear, so you don’t waste your tries: the trial has two limitations. It lasts 10 days and you can only upload 10 jobs.
Use them wisely.
3. Upload?
Yeah.
LIVE doesn’t work locally: it asks you to upload your Revit file to a cloud service and then to download it again in a mysterious lvmd format.

The good thing is that the Addin does a preliminary check before allowing you to upload your model.
For instance it checkes:
– if you have a proper 3d view set;
– if your 3d view is in “Fine” detail mode and asks you if it’s intentional;
– if you have scope boxes activated and asks you if it’s intentional;
– if you have a phase filter enabled;
– if you have some materials without any image associated to its asset.


This is cool.
While uploading your stuff, a nice neat panel will present itself. You’ll be able to minimize it and continue working on your model. It’s a relatively smooth process: the file I chose for the 1st test wasn’t small (200 Mb) but it took just a couple of minute to upload.

The “preparing” mode can be a little longer.

If you stand still, the model downloads all by itself in a brand new “Autodesk LIVE” folder in your user folder. With the “Open” button you can open it directly in the LIVE viewer. With the “Locate”, you can open the folder.

Regardless, LIVE sends you an e-mail warning you that your file has been downloaded, and provides you with a link to download it again in case something went wrong.

4. (Try to) view your Project
Ok, I’ll admit it: I wasn’t very succesful. Everything was apparently good and I launched my LIVE viewer.

Then it went on importing my file. Incitentally, what used to be a 212 Mb Revit model became a 172 Mb LIVE model. Slightly smaller.

What happened then was this.

And this.

And this.

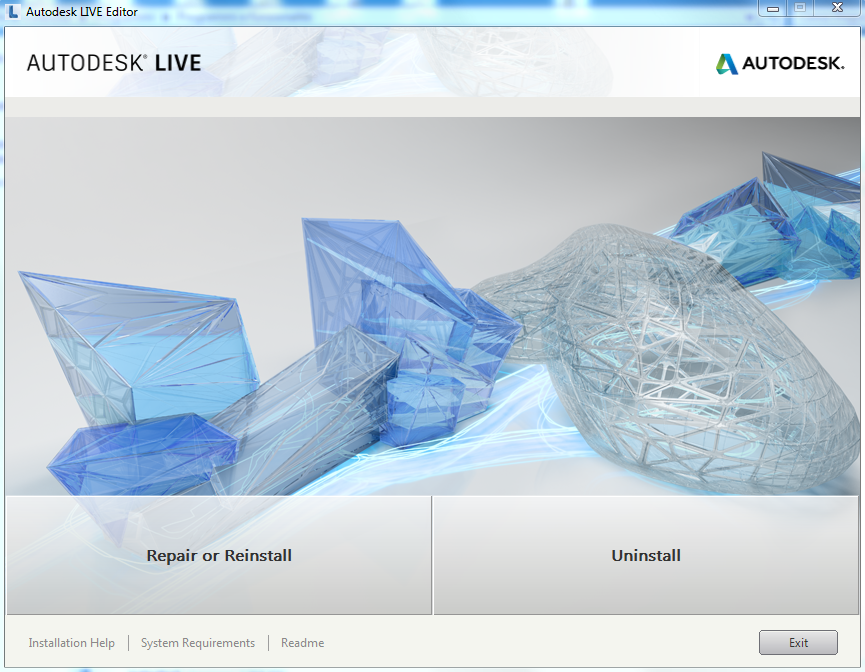
I was a little worried, therefore I uninstalled everything and then installed it back again.
Same results.
I ran a repair.
Same results.
5. (Try to) view your project – Part 2
All of a sudden, as sometimes happens in life, I was succesful. For no apparent reason.
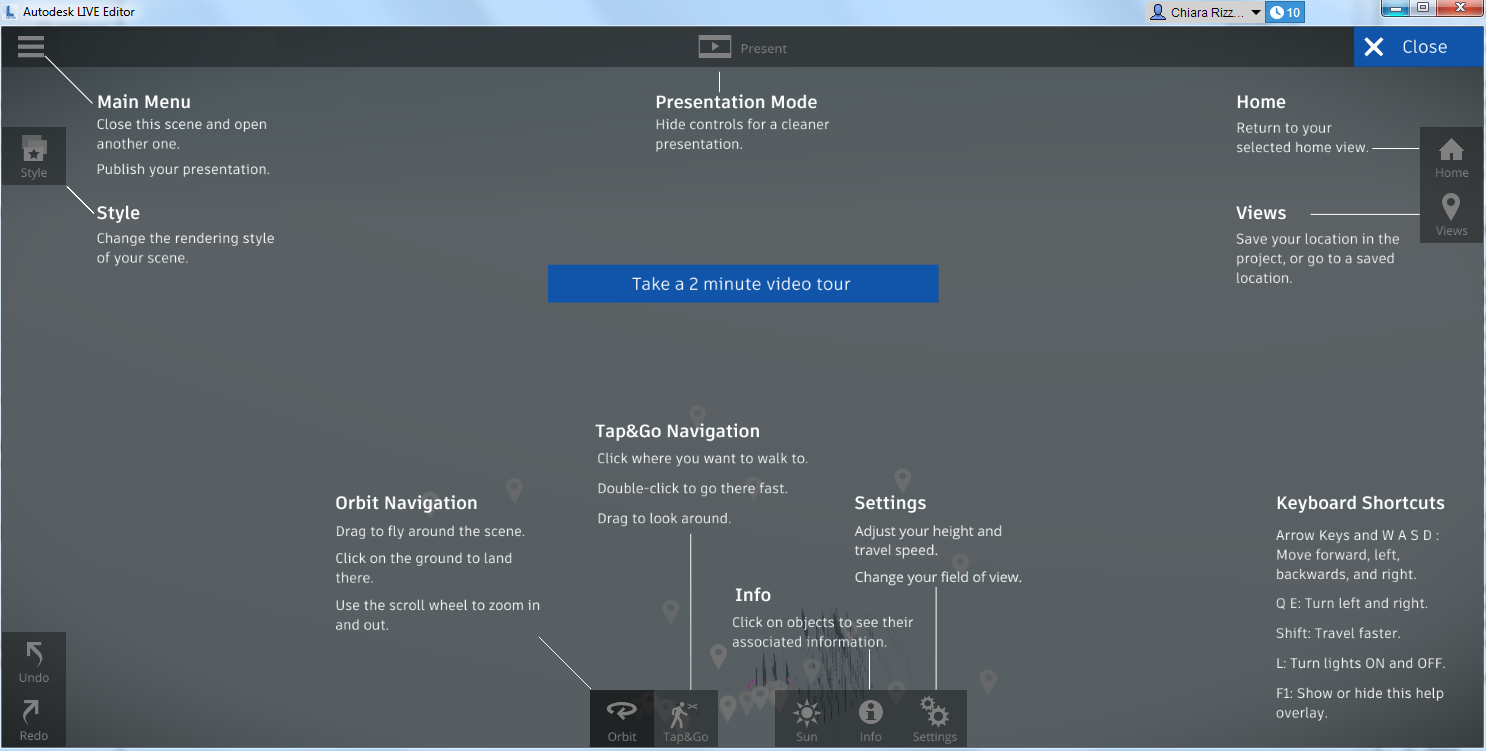
The main concept is simple: you can either orbit your model or jump into it. Assuming you prepared a bunch of cameras within Revit, with the “tap & go” mode you can jump from one point to the other, as if they were saving points of a videogame.
Which is cool.
The presentation Mode (top bar) allows you to flick through these views as if you were flicking through a book of renderings.
Which is very cool for presentations.
![]()
Among the styles, you can find something very similar to Enscape’s “polystyrol mode”, although you don’t have many settings when it comes to color temperature, contrast and such.
So, how did my project look like?
I wish I could tell you.
My project loaded and opened and… ok, well, there was just a part of my project. To be specific there were pillars, view locations and a bunch of pink question marks where my architectural elements should have been.

6. View your project (at last)
I started from scratch again, reinstalled everything and tried with a new project. Something significantly smaller. Here’s how it looks in Revit. Some of you already know this: it was the dataset for an old training session.


This time I was succesful and here you go, here’s the result.

By playing around with a couple of settings in the actual model, I found out that:
– you can set the height from ground and the field of view, which is cool;

– you can play with the sun both in matter of hour and of season;

– you can get rather romantic.

Also, here are the three different styles. The second one looks interesting: it’s some sort of polystyrol mode in a coloured environment. Should be very good for concept views.

7. The pros (and the cons)
1. It seems to be rather good for presentations. Though it’s not standalone, I love the presentation mode, and the way you can jump from one view to the other by simply clicking on a symbol.
2. It seems to be very bad for design review. I don’t like the fact that you need to export your model and you can’t see the effect of your changes real-time.
8. How much?


1 Comment
sdsad
Posted at 21:25h, 12 DecemberThanks for posting this